When your summers are short, starting seeds indoors can make the difference between harvesting ripe tomatoes and staring at a beautiful collection of green ones when the first frost arrives.
But starting everything ridiculously early isn’t the answer either.
The trick is knowing what to start indoors, when to start it, and how to grow sturdy seedlings that are actually ready for life outside.
Quick Seed-Starting Guide
Count backward from the time you expect to transplant each crop outdoors.
| Crop | Approximate Indoor Growing Time Before Transplanting |
|---|---|
| Celery | 10–12 weeks |
| Onions | About 8 weeks |
| Peppers | 6–8 weeks |
| Eggplant | 6–9 weeks |
| Tomatoes | 5–7 weeks |
| Broccoli | 5–7 weeks |
| Cabbage | 5–7 weeks |
| Lettuce | 3–5 weeks |
| Cucumbers | About 4 weeks |
| Squash | 3–4 weeks |
| Melons | 3–4 weeks |
Always check your seed packet. Different varieties and growing conditions can change the ideal timing.
And remember: your target date isn’t necessarily your average last frost date. Warm-season plants like tomatoes and peppers generally need appropriately warm conditions before transplanting.
Affiliate Disclosure: This post contains affiliate links. As an Amazon Associate, Northern Home & Garden earns from qualifying purchases at no additional cost to you.
First: Don’t Start Everything Too Early
When you’re surrounded by snow in February, starting seeds feels like gardening.
And after a long winter, it’s very tempting to start ALL THE THINGS.
Resist. 🌱
A tomato seedling started far too early doesn’t automatically produce tomatoes earlier. Instead, you can end up with oversized, root-bound plants that are difficult to manage indoors.
Tomatoes, for example, generally need only about five to seven weeks of indoor growing time before transplanting.
❄️ Northern Tip
Count backward instead of forward. Rather than asking:
“When should I start tomatoes?”
Ask:
“When can tomatoes realistically go into my garden?”
Then count backward the recommended number of weeks.
This works much better across different cold climates than following a calendar written for someone hundreds—or thousands—of miles away.
What Should You Start Indoors?
Not every vegetable benefits from an indoor head start.
Good Candidates for Starting Indoors
Long-season or slower-growing crops often benefit the most:
- Tomatoes
- Peppers
- Eggplant
- Celery
- Onions
- Broccoli
- Cabbage
- Many herbs
- Many annual flowers
In a short growing season, starting these indoors gives them valuable growing time before outdoor conditions are suitable.
Plants You May Be Better Off Direct-Sowing
Some plants grow quickly or simply don’t appreciate having their roots disturbed.
Depending on your climate and growing setup, these can include:
- Carrots
- Radishes
- Peas
- Beans
- Corn
Cucumbers, squash and melons are a little different. They can be started indoors to gain precious time in a short season, but they shouldn’t spend months growing in pots.
Start them relatively close to transplanting time and handle their roots carefully.
❄️ Northern Tip
For very short summers, choosing a variety with fewer days to maturity can be just as important as starting seeds indoors.
A tomato bred to ripen quickly may be a much better northern choice than a gorgeous variety requiring a very long season.
What You Actually Need to Start Seeds
Seed starting can become an entire hobby involving shelves, elaborate lighting systems and enough equipment to resemble a small commercial greenhouse.
It doesn’t have to.
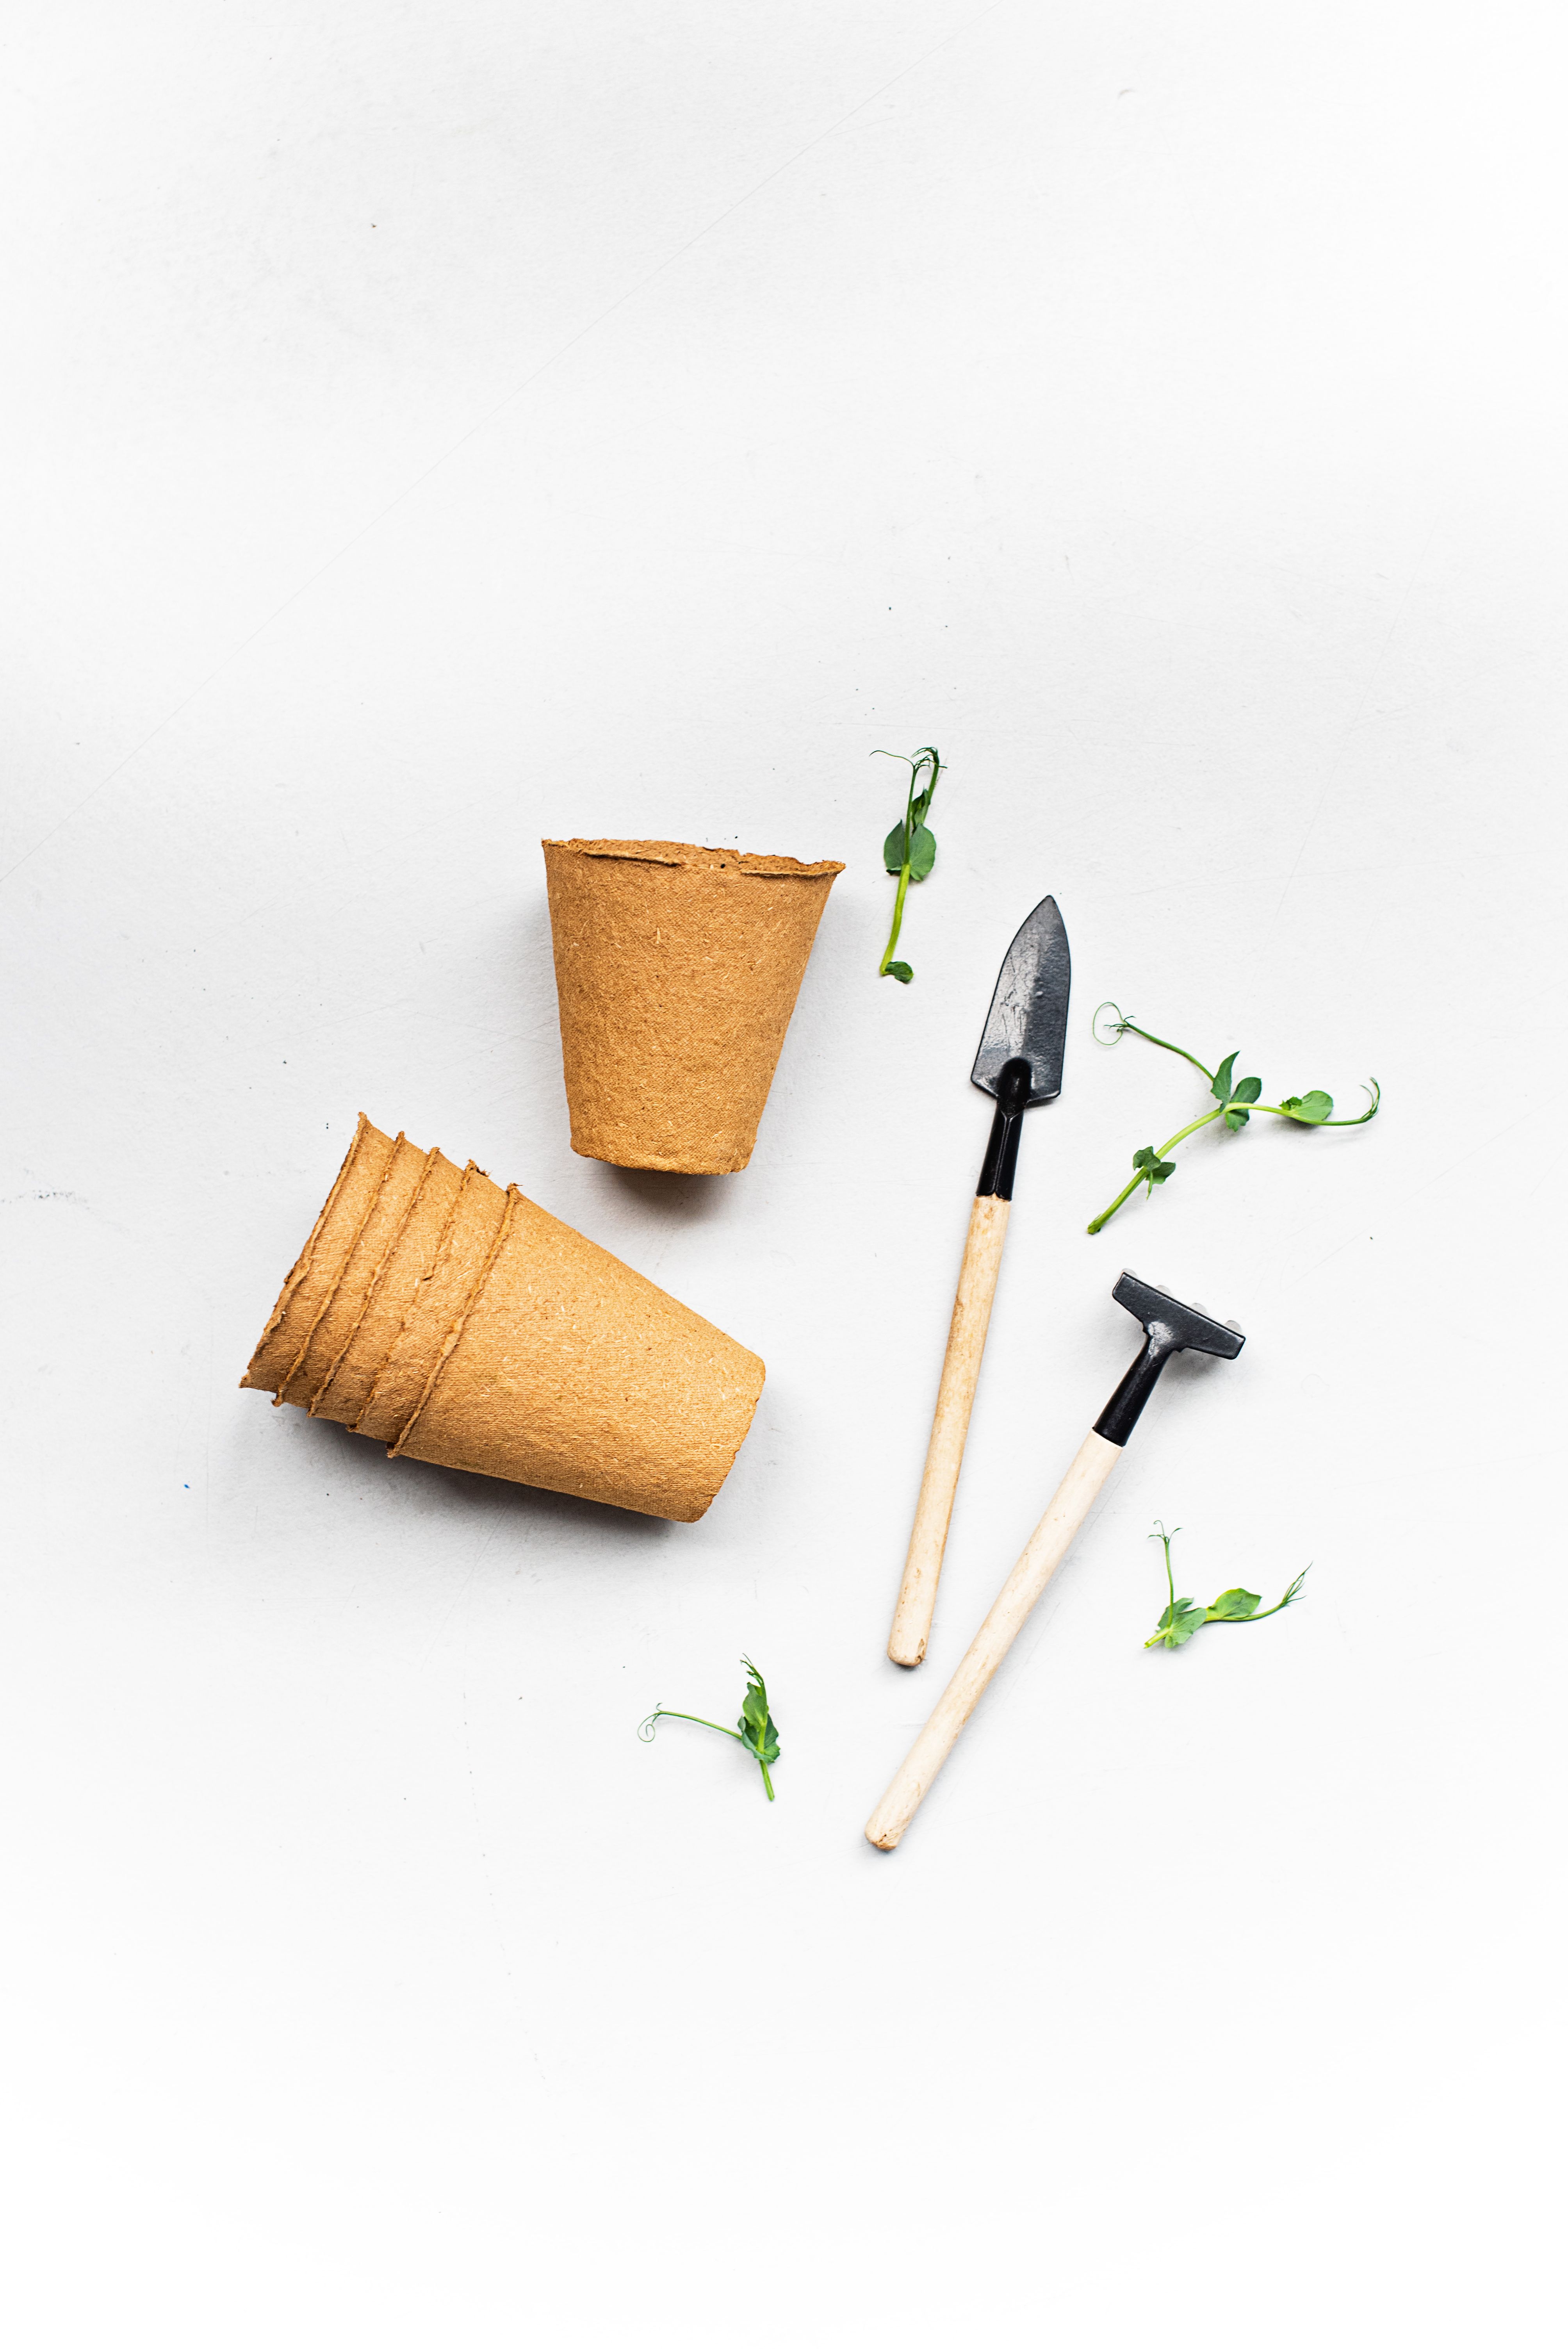
For a basic setup, you need:
- Seeds
- Containers or seed-starting trays with drainage
- Sterile seed-starting mix
- Plant labels
- A waterproof tray
- A reliable light source
- Water
- A reasonably warm location
A heat mat can be useful for certain seeds, but it isn’t necessary for everything.
You can always expand your setup later.
Use Seed-Starting Mix, Not Garden Soil
Tiny seedlings need a growing medium that is light, clean and well-draining.
Ordinary garden soil can be heavy in containers and may introduce disease organisms.
A commercial seed-starting mix or soilless mix is generally the easier choice.
Fill your containers, moisten the mix and plant seeds according to the depth listed on the packet.
Don’t forget the labels.
You may think you’ll remember which tray contains which tomato variety.
You will not.
Ask me how gardeners learn this. 😂
Do Seedlings Really Need Grow Lights?
For most cold-climate gardeners starting seeds during winter or early spring, supplemental lighting is extremely helpful.
A sunny windowsill looks bright to us, but seedlings often don’t receive enough consistent light there. They stretch toward the window and develop long, thin stems—a condition gardeners often call legginess.
Strong seedlings should be compact and sturdy.
LED grow lights or fluorescent lights can both work for starting seeds.
As a general guideline, keep lights relatively close to the seedlings and adjust them upward as plants grow. The correct distance depends somewhat on the particular fixture, so follow the light manufacturer’s recommendations.
Give seedlings a regular period of darkness, too. They don’t need lights running 24 hours a day.
❄️ Northern Tip
A simple outlet timer is one of the easiest ways to make a seed-starting setup less demanding.
Set the lights once, and you don’t have to remember to turn them on and off every day.
What About Heat Mats?
Seedling heat mats warm the growing medium from below and can speed germination for warmth-loving crops.
They’re especially useful for plants such as:
- Tomatoes
- Peppers
- Eggplant
- Cucumbers
- Squash
- Melons
But warmer isn’t always better.
Cool-season crops may not need supplemental bottom heat at all.
And a heat mat can cause seed-starting mix to dry more quickly, so check moisture regularly.
Once Seeds Germinate
Don’t assume seedlings need to sit on high heat indefinitely.
The warm conditions that encourage germination aren’t necessarily the same conditions that produce sturdy young plants.
Follow the temperature recommendations for the crop you’re growing.
Water Carefully
Seed-starting mix should remain evenly moist while seeds germinate, but it shouldn’t be waterlogged.
Too dry, and germination suffers.
Too wet, and you create conditions that encourage disease and root problems.
When seedlings are tiny, water gently so you don’t wash seeds or young roots out of place.
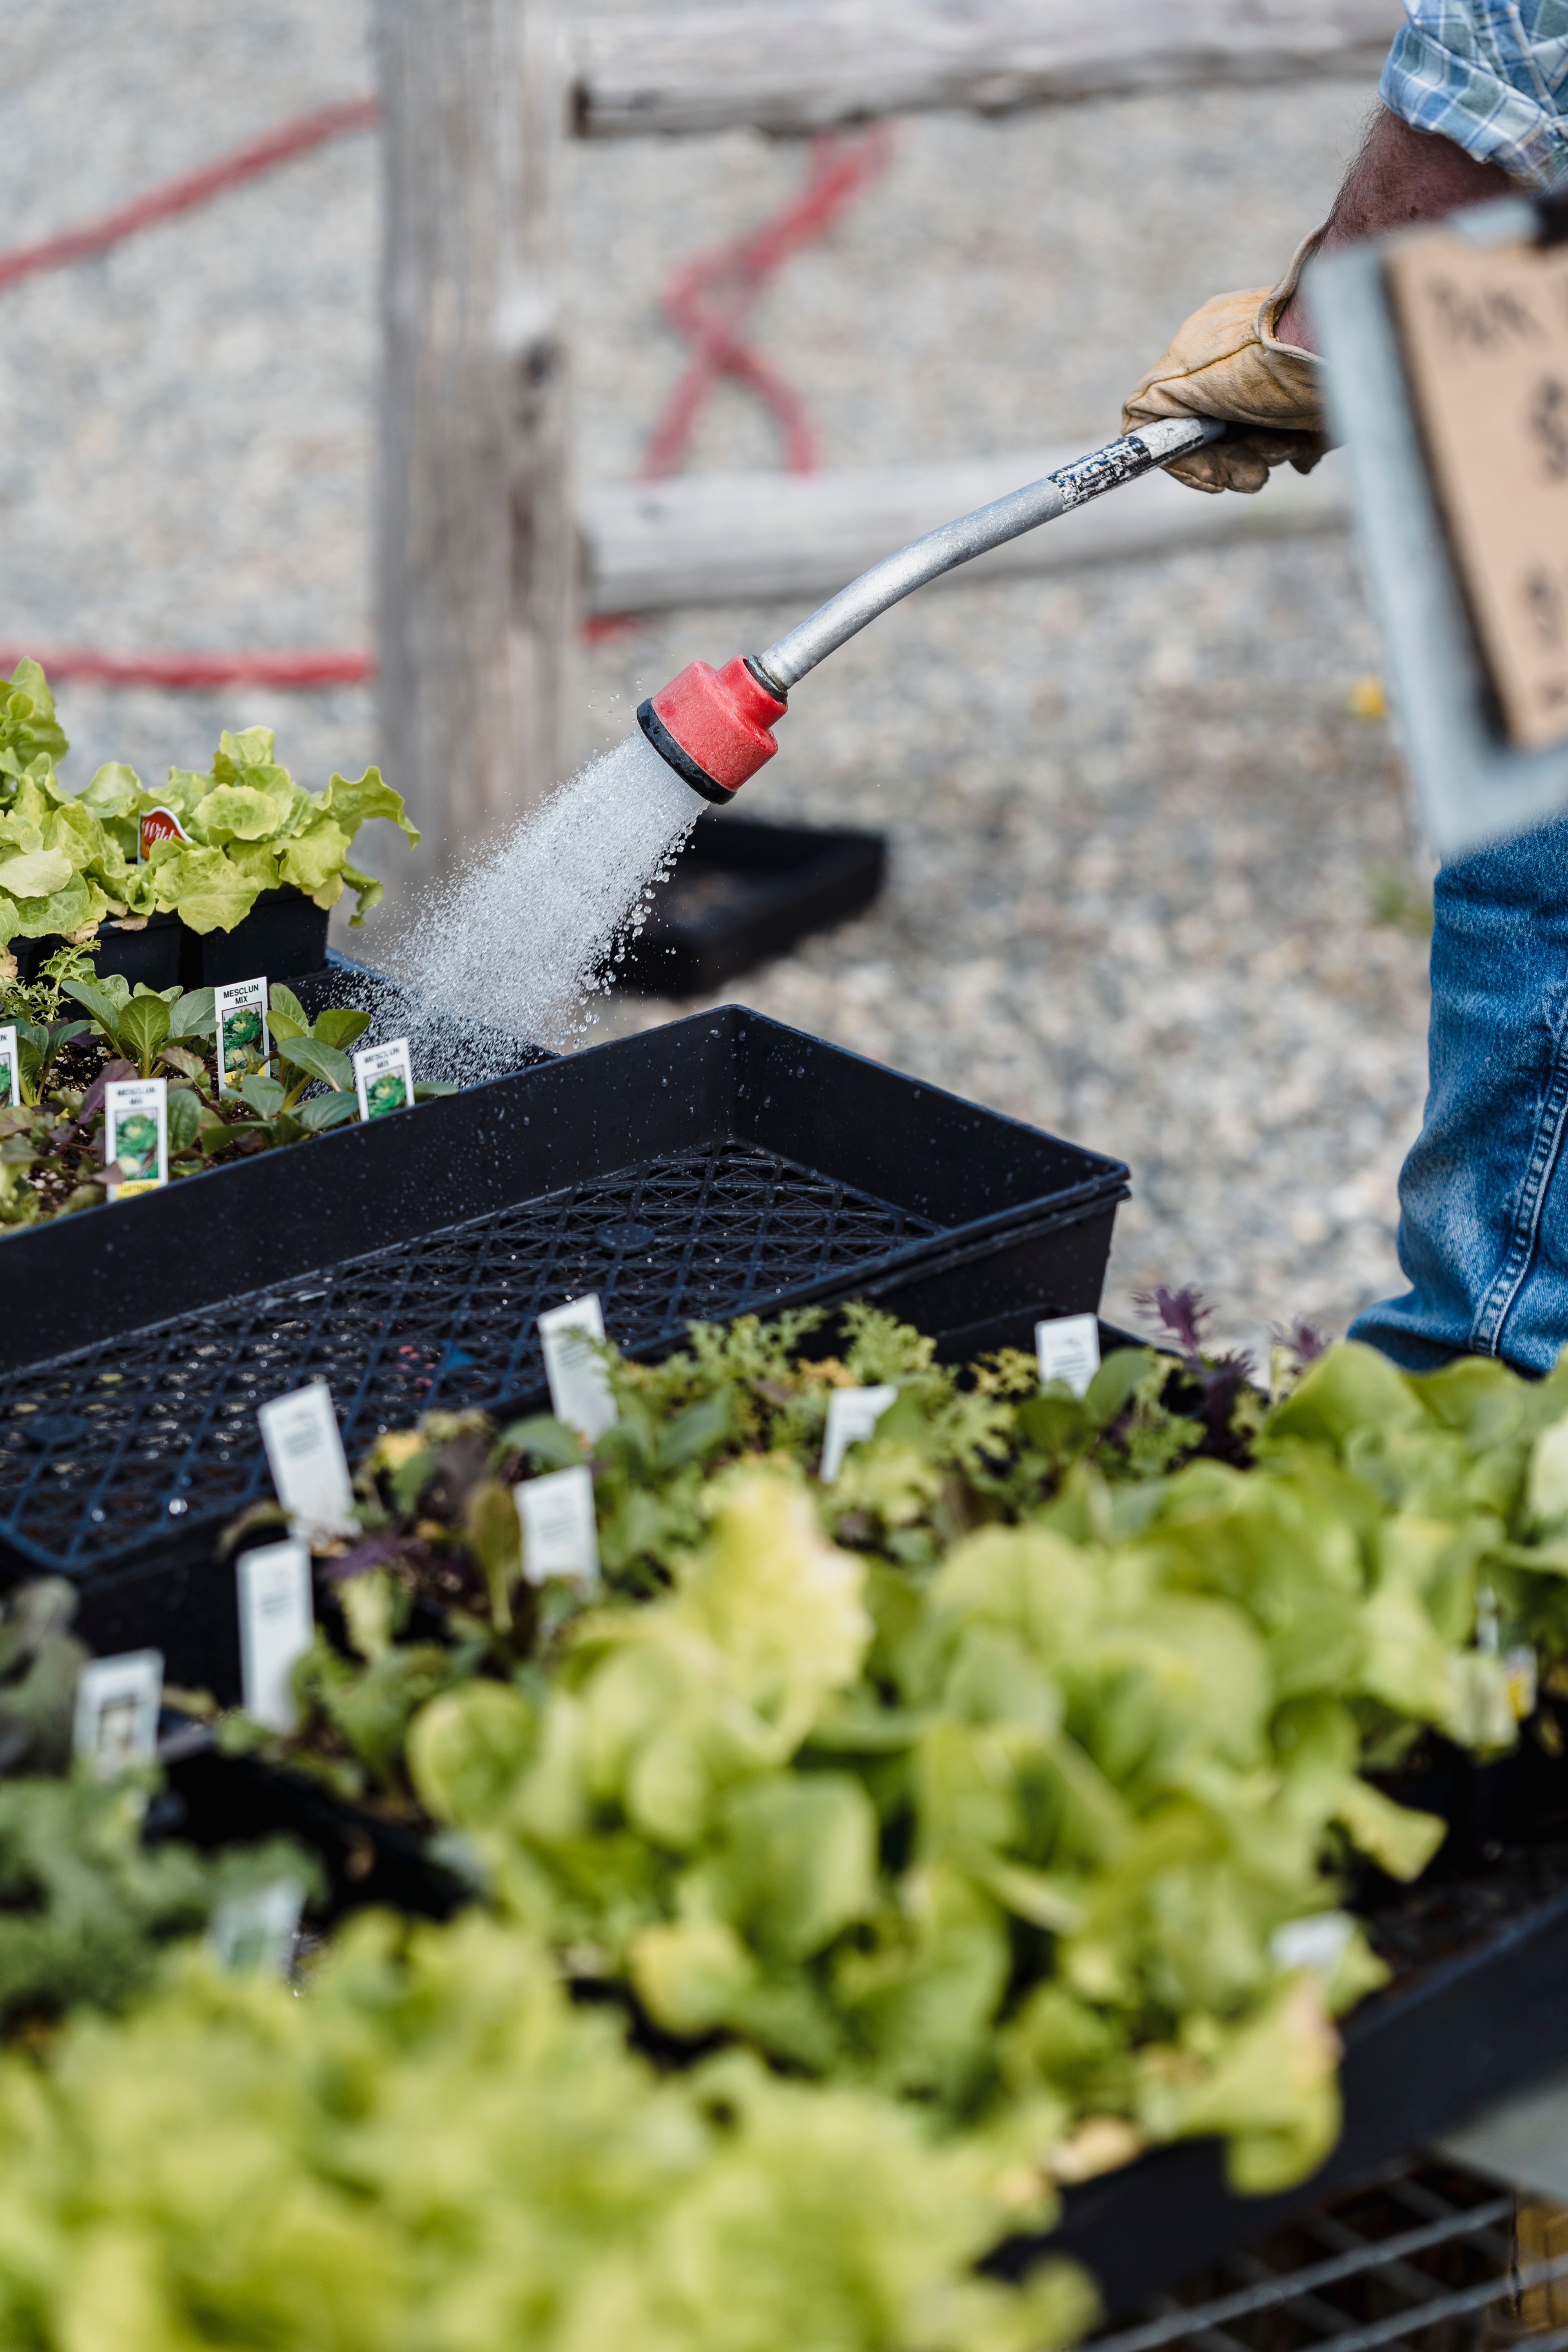
Bottom watering can work particularly well once seedlings are established: add water to the waterproof tray and allow the growing mix to absorb moisture from below, then remove excess standing water.
Remove Humidity Covers After Germination
Clear domes or plastic covers can help keep the growing medium moist while seeds germinate.
But once most of the seedlings have emerged, remove the cover.
Young seedlings need airflow, and constantly humid conditions can encourage disease.
A small fan placed nearby can provide gentle air movement, although it shouldn’t blast seedlings like they’re experiencing a hurricane. 😂
When Should You Fertilize Seedlings?
Seeds contain the stored energy they need to germinate.
That means tiny newly emerged seedlings don’t immediately need a heavy dose of fertilizer.
Once seedlings develop several sets of true leaves, plants growing in a soilless mix can benefit from a weak water-soluble fertilizer.
More isn’t better.
Tender seedlings can be damaged by excessive fertilizer, so dilute according to appropriate seedling recommendations rather than trying to push faster growth.
What’s a “True Leaf”?
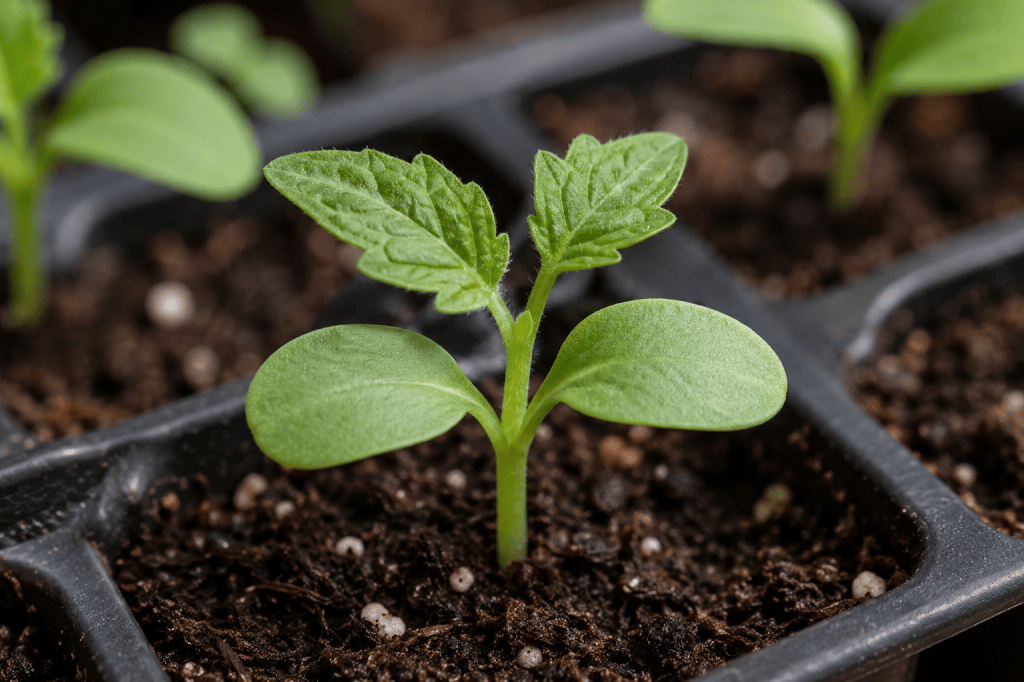
The first leaves you see after many seeds germinate are called cotyledons, or seed leaves.
They’re part of the plant’s early food-storage system and often don’t look much like the mature plant.
The leaves that emerge afterward are the true leaves.
Those begin looking more like the leaves you’d recognize on the adult plant.
Seeing true leaves is a useful sign that your little seedling is moving into its next stage of growth.
When Seedlings Outgrow Their Containers
Seedlings eventually need more room.
If roots begin circling the container, plants dry out unusually fast, or growth stalls, it may be time to move them into a larger pot.
Handle seedlings by their leaves whenever possible rather than squeezing the delicate stem.
When transplanting, settle the roots gently into fresh growing mix and water afterward.
Tomatoes are somewhat unusual because they can form roots along buried portions of their stems, so leggy tomato seedlings can often be planted deeper when they’re moved into larger containers.
Don’t Pot Up Too Soon
Moving tiny seedlings into oversized containers can make moisture management more difficult.
Increase container size gradually as the plant grows.
Hardening Off: The Step You Really Shouldn’t Skip
Seedlings grown indoors have lived a very sheltered life.
They haven’t experienced strong sunlight, wind, cool nights or rapidly changing temperatures.
Moving them directly from your house to the garden can shock or even damage them.
About a week or two before transplanting, begin gradually introducing seedlings to outdoor conditions.
Start with a short period in a protected, shaded location.
Over several days, slowly increase the amount of time they spend outside and gradually expose them to more sunlight and wind.
Bring them back inside if temperatures become too cold for the particular plants you’re hardening off.
By transplanting day, they should be much better prepared for life outdoors.
❄️ Northern Tip
In a cold climate, don’t let one beautiful spring afternoon fool you.
Warm daytime temperatures don’t mean your nights—or your soil—are ready for warm-season plants.
Check the forecast, know what temperatures your plants can tolerate, and remember that frost dates are guidelines, not guarantees.
When Is It Actually Safe to Plant Outside?
This is where cold-climate gardening gets tricky.
Your average last frost date is useful, but it shouldn’t be the only thing you consider.
Before transplanting seedlings, pay attention to:
- Nighttime temperatures
- Soil temperature
- The plant’s cold tolerance
- The upcoming weather forecast
- How well your seedlings have been hardened off
Cool-season crops such as broccoli and cabbage can tolerate conditions that would make tomatoes, peppers and cucumbers very unhappy.
Warm-season plants need genuinely warm conditions—not simply one sunny afternoon that makes it feel like summer has finally arrived.
In northern gardens, patience can be difficult after a long winter, but waiting a little longer can save you from having to replace an entire tray of seedlings.
Keep Frost Protection Handy
Even after transplanting, cold nights can sneak up on you.
Row covers, frost cloth, cloches or other temporary protection can help young plants through an unexpected cold spell.
Just remember to remove or vent covers when temperatures warm so plants don’t overheat.
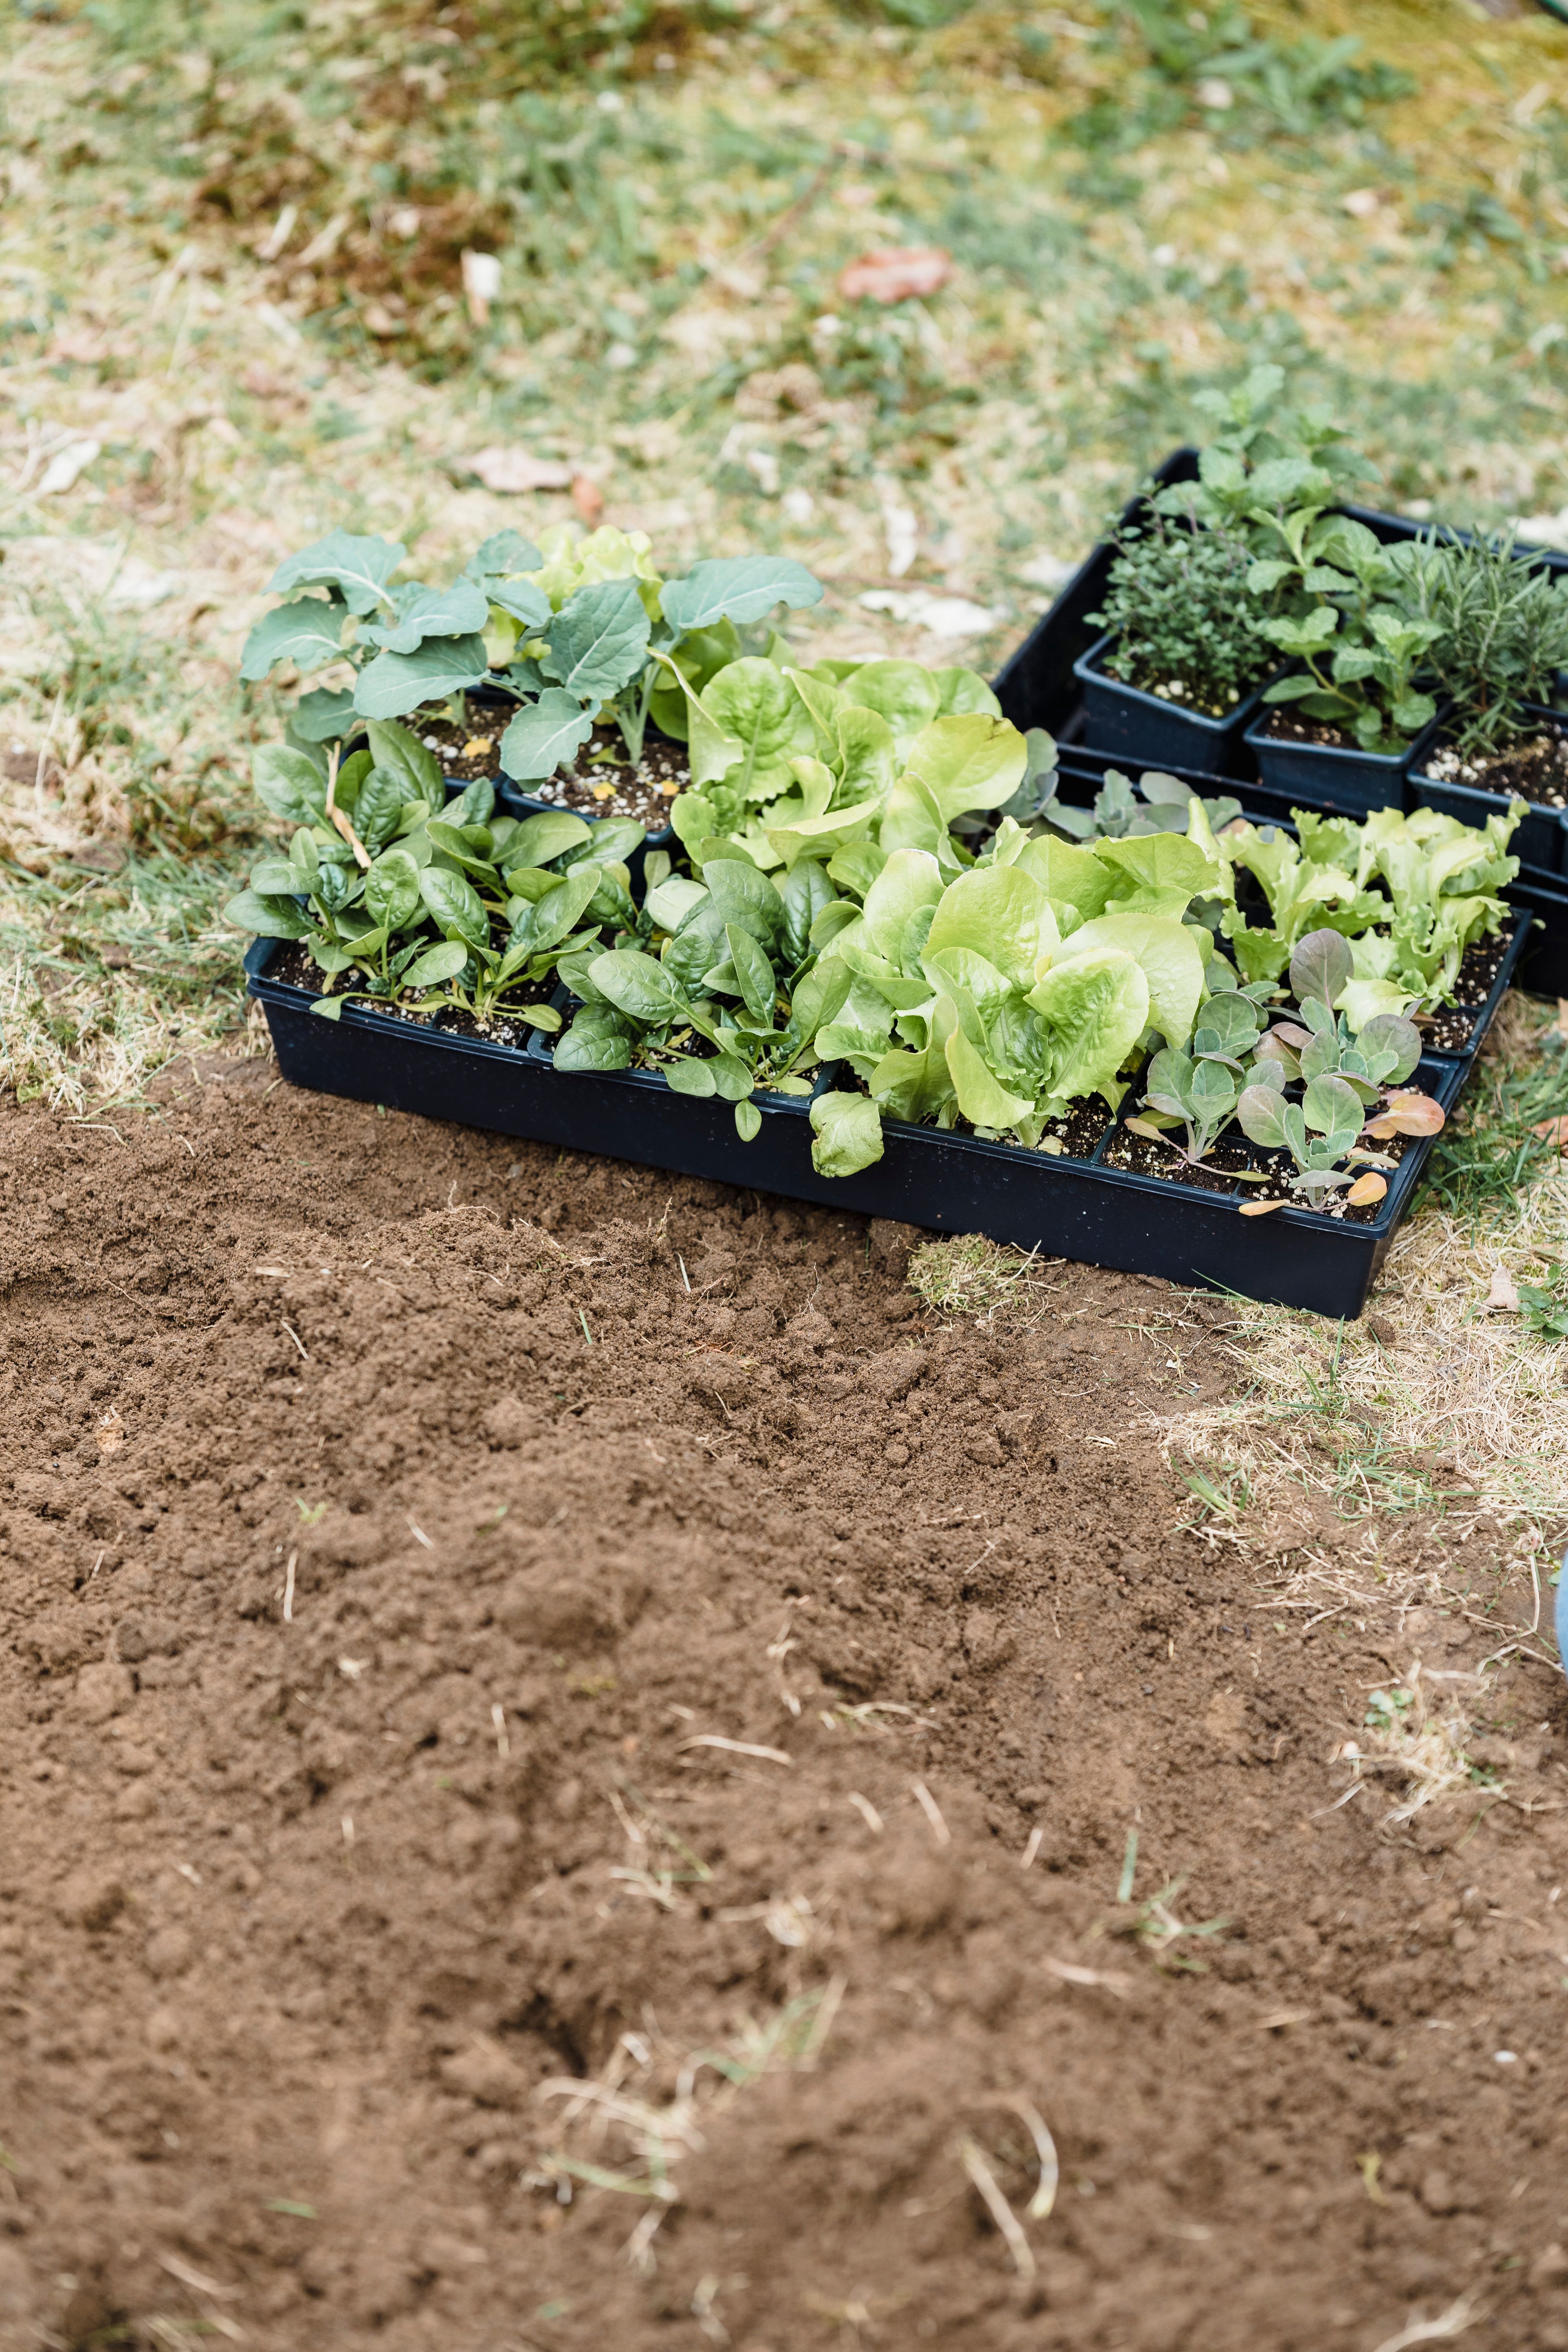
Short-Season Gardening Is About Buying Time
Starting seeds indoors isn’t about creating the biggest seedlings possible.
It’s about giving certain plants just enough of a head start that they can make the most of your outdoor growing season.
Choose varieties suited to shorter summers.
Start them at the right time.
Give seedlings strong light.
Don’t overwater them.
Harden them off gradually.
Then send them outside when the plants—and the weather—are actually ready.
You may have a short growing season.
That doesn’t mean you can’t grow a beautiful garden.
Northern Home & Garden
Beauty That Grows Through the Cold

