How to Get Your Holiday Cactus to Bloom (And Keep It Blooming!)

Wondering why your holiday cactus won’t bloom? Learn four simple steps to encourage beautiful flowers on Christmas and Thanksgiving cactus, prevent bud drop, and keep your plant healthy year after year.

Few things brighten a dark winter afternoon like a holiday cactus covered in flowers. When it’s cold and snowy outside, those cheerful pink, red, or white blooms are a very welcome splash of color.

But what if your Christmas or Thanksgiving cactus refuses to bloom? Or worse, it develops flower buds only to drop them before they open?

Getting your holiday cactus to bloom isn’t complicated, I promise. With the right combination of light, temperature, and watering, you can encourage beautiful flowers year after year.

Affiliate Disclosure: This post contains affiliate links. As an Amazon Associate I earn from qualifying purchases.

4 Simple Steps to Encourage Holiday Cactus Blooms

Christmas and Thanksgiving cacti respond to changes in daylight and temperature. As fall approaches, longer nights and cooler conditions signal that it’s time to produce flower buds.
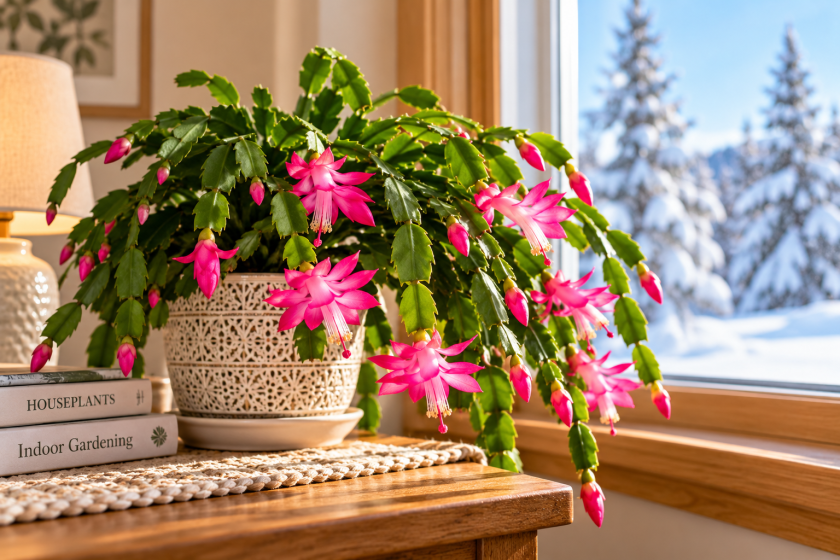
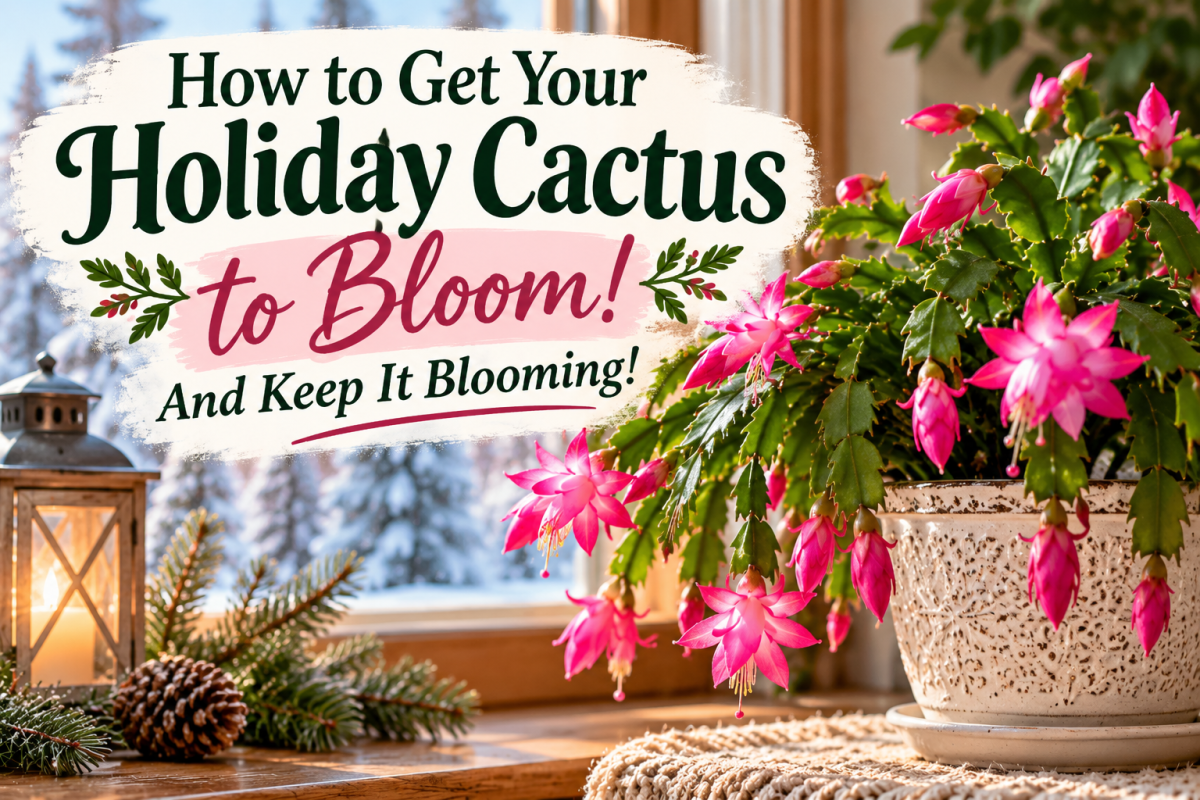
Christmas cactus covered in bright pink flowers and unopened buds beside a sunny window overlooking snow-covered trees.

1. Give It Longer, Uninterrupted Nights

For about six to eight weeks in the fall, give your holiday cactus approximately 13 to 14 hours of uninterrupted darkness each night.

Up here, fall nights get long fast, so nature does most of the work for us. The real troublemakers are lamps and TVs. If your cactus lives in the living room, every evening of Netflix counts as daytime to your plant, so a spare room that stays dark after sunset works best.

During the day, keep your cactus in bright, indirect light.

2. Keep Temperatures on the Cooler Side

Cooler temperatures can encourage flower buds, even when the plant receives fewer hours of darkness. Aim for nighttime temperatures around 55 to 60°F, if possible.

There’s no need to turn your house into a refrigerator! A naturally cooler room may be all your plant needs.

3. Water Carefully

Christmas and Thanksgiving cacti aren’t quite like the desert cacti we’re used to seeing. They’re tropical plants that prefer a little more moisture.

Water when the upper inch of soil feels dry. Allow excess water to drain away, and avoid leaving the pot sitting in water.

During the fall blooming preparation period, avoid keeping the soil constantly wet, but don’t let the plant become severely dried out either.

I like to use a soil moisture meter to help check when my houseplants need water. It’s especially handy for larger plants when it’s hard to tell how damp the soil is beneath all that foliage.

4. Give It a Little Time

Flower buds don’t appear overnight.

After several weeks of favorable conditions, you may begin noticing tiny buds forming at the tips of the stem segments. It can take several more weeks for those buds to open.

Once buds appear, continue providing bright, indirect light and consistent temperatures as the flowers develop.

What to Do When Flower Buds Appear
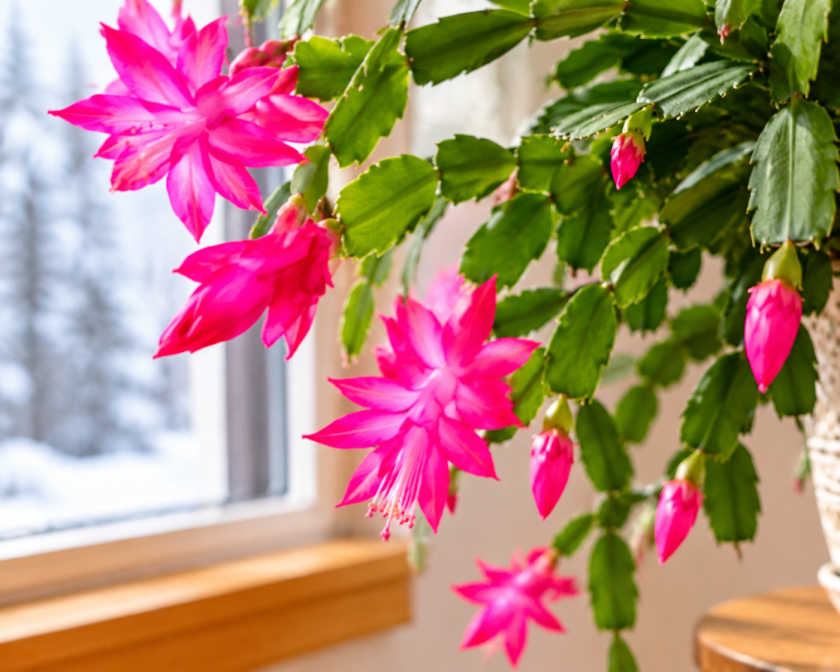
Christmas cactus with vibrant pink flowers and unopened flower buds hanging from green stems beside a sunlit window.

You’ve waited patiently, and your holiday cactus finally has flower buds! Now the goal is to keep those little buds happy until they open.

Christmas and Thanksgiving cacti can be sensitive to sudden changes in their environment, especially while they’re developing flowers.

A few simple precautions can help prevent bud drop:

  • Keep temperatures consistent. Avoid placing your plant near heating vents, drafty doors, or cold windows.
  • Maintain steady watering. Don’t let the soil become completely dry for long periods, but avoid overwatering.
  • Provide bright, indirect light. Once buds appear, you can return to a normal day and night lighting schedule. Your cactus no longer needs the long nights used to encourage bud formation.
  • Avoid sudden changes in location. Moving your plant isn’t necessarily harmful, but changes in light, temperature, or humidity can cause buds to drop.
  • Hold off on repotting. Wait until after flowering to avoid disturbing the roots unnecessarily.

Why Isn’t My Holiday Cactus Blooming?

If your Christmas or Thanksgiving cactus looks healthy but refuses to flower, don’t give up on it just yet!

Usually, the problem comes down to lighting, temperature, or watering. A few small adjustments may be all it needs.

Possible ProblemWhat to Try
Too much artificial light at nightProvide 13 to 14 hours of uninterrupted darkness for several weeks during fall.
Temperatures are too warmTry a cooler location, ideally around 55 to 60°F at night during bud formation.
Not enough daytime lightMove your cactus to a spot with bright, indirect sunlight. During our dark northern winters, a grow light can help too.
Improper wateringWater when the upper inch of soil feels dry, and avoid soggy soil.
Recent repotting or other stressGive your plant time to settle into a stable environment.

Can a Holiday Cactus Bloom More Than Once a Year?
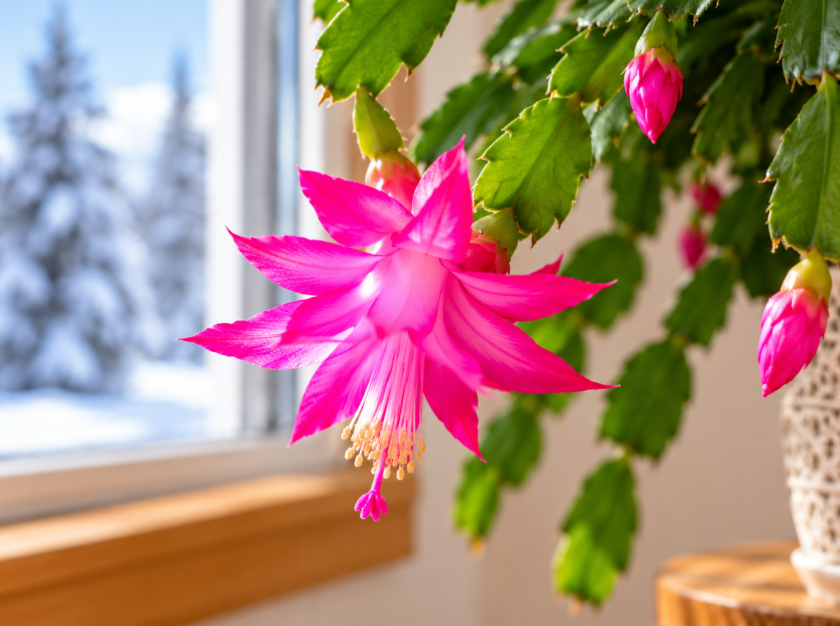
Close-up of a vibrant pink Christmas cactus flower with delicate stamens and unopened buds beside a snowy window.

Absolutely! Although Christmas and Thanksgiving cacti are known for their beautiful flowers during the colder months, both can bloom more than once a year when growing conditions are right.

Changes in daylight hours and temperature may encourage another round of flower buds, even outside the usual blooming season.

I’ve experienced this with my own holiday cactus. Not only has it surprised me with beautiful pink flowers in April, but it’s even bloomed in July! And the funny thing is, I haven’t done anything differently to encourage those extra blooms.

Apparently, my cactus has decided that blooming season is more of a suggestion than a rule!

While you can’t count on flowers appearing throughout the year, keeping your plant healthy with proper light, watering, and consistent care gives it the best chance to bloom again when conditions are favorable.

Caring for Your Holiday Cactus After Blooming
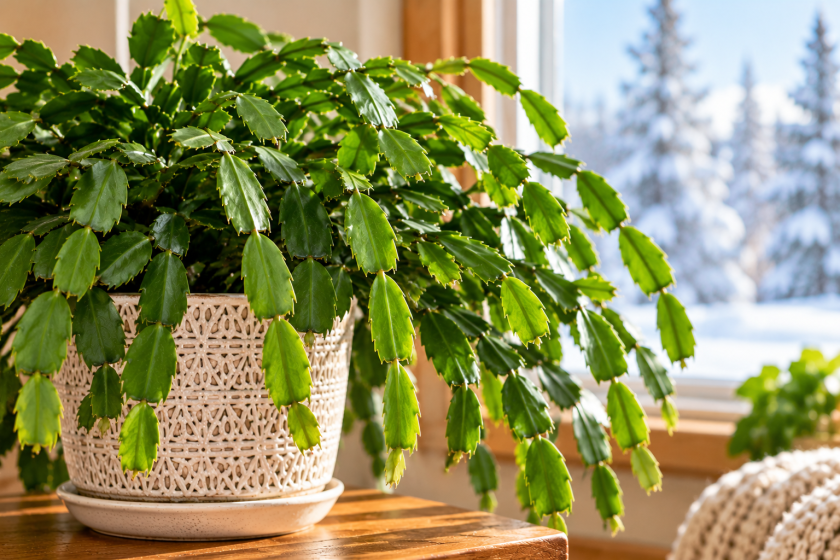
Healthy Christmas cactus with cascading green stems in a decorative cream pot beside a sunny window overlooking a snowy landscape.

Once the last flowers have faded, a little routine care will help keep your holiday cactus healthy and ready for its next blooming season. Fortunately, it doesn’t take much!

  • Keep it in bright, indirect light. Avoid harsh afternoon sunshine that can scorch the stems.
  • Water when needed. Allow the upper inch of soil to dry before watering, and never leave the pot sitting in water.
  • Fertilize during active growth. A balanced houseplant fertilizer, diluted according to the label, can help support healthy growth in spring and summer.
  • Repot only when necessary. Holiday cacti can bloom well when slightly rootbound. If your plant needs a larger pot, spring is a good time to repot.
  • Prune after flowering. Removing a few stem segments can encourage branching and fuller growth. And don’t throw those cuttings away! They’re perfect for propagating new plants.

With a little consistent care, Christmas and Thanksgiving cacti can thrive for many years, becoming beautiful houseplants that you can enjoy long after the decorations are packed away.

Looking for a gift for the plant lover in your life? Check out our gift guide for cold-climate gardeners for houseplant tools and other winter favorites.

Not sure which holiday cactus you have?
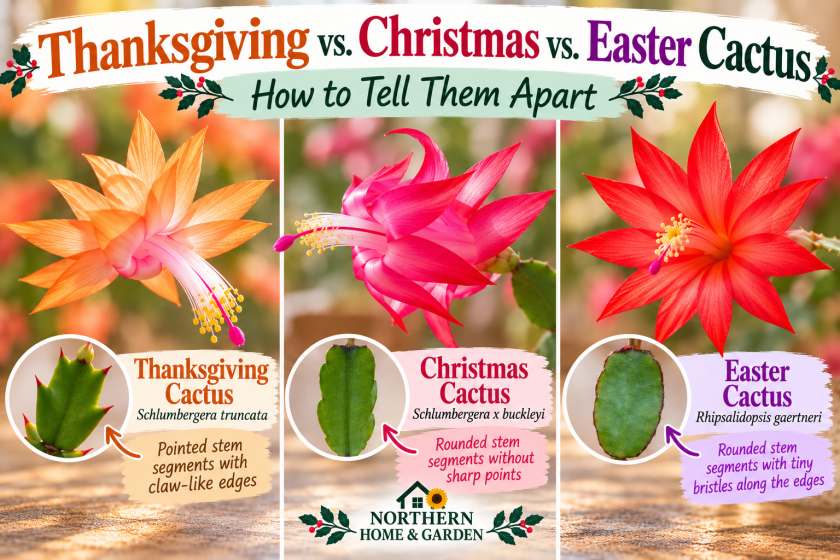
Comparison of Thanksgiving, Christmas, and Easter cactus flowers with close-ups showing their different stem shapes, including pointed, rounded, and finely bristled edges.

Christmas, Thanksgiving, and Easter cacti may look similar, but their stem shapes and blooming seasons can help you tell them apart. Check out our guide Christmas vs. Thanksgiving vs. Easter Cactus to identify yours!

🌻 Northern Home & Garden

More Northern Tips, Straight to Your Inbox 🌻

Get practical gardening advice, seasonal ideas and new posts from Northern Home & Garden delivered to your inbox.
Meet My Little Turtles: The Cutest Way I’ve Found to Grow String of Turtles

Who knew String of Turtles could be even cuter growing out of a turtle planter? From choosing the right soil to plant care and propagation, I’ll share how I grow these adorable little houseplants and why they’ve become some of my favorite plant projects.

There are some plant and planter combinations that are just meant to be.

A trailing String of Hearts spilling out of a heart-shaped planter? Adorable.

Herbs growing in mason jars on the kitchen counter? Perfect.

But String of Turtles growing out of an actual turtle?

Come on!

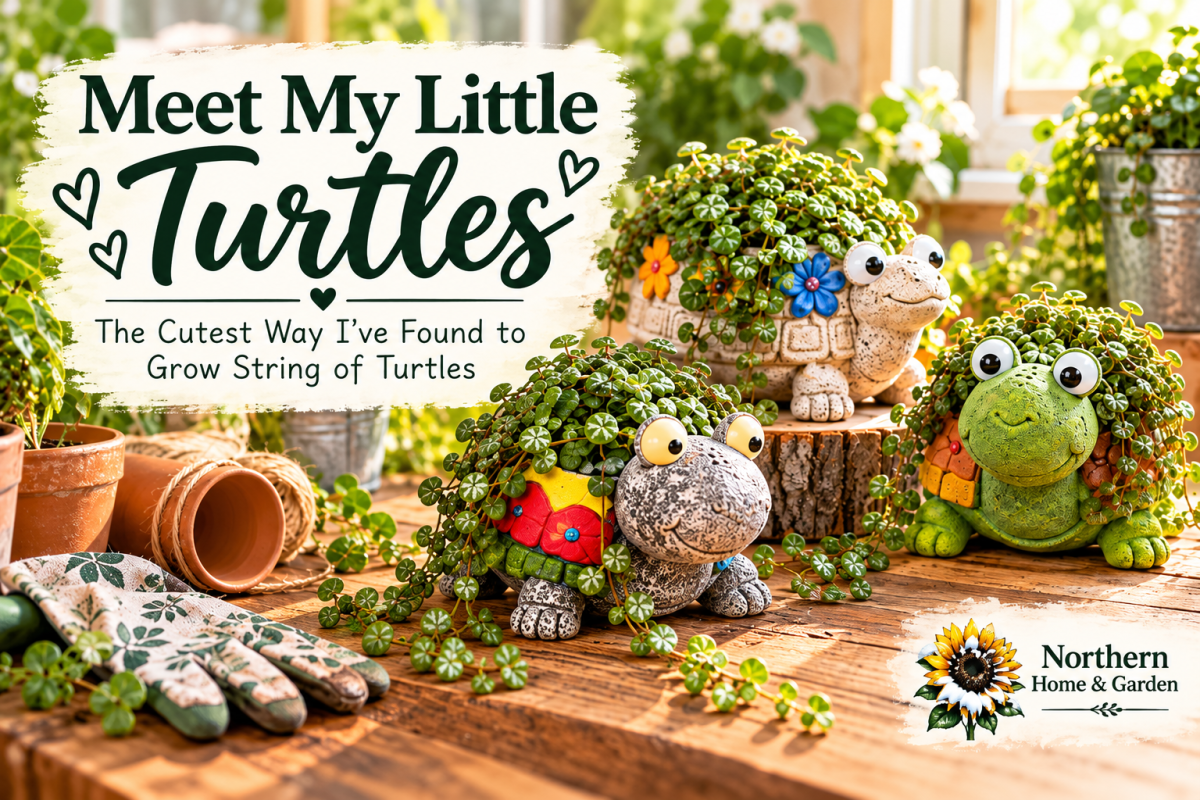
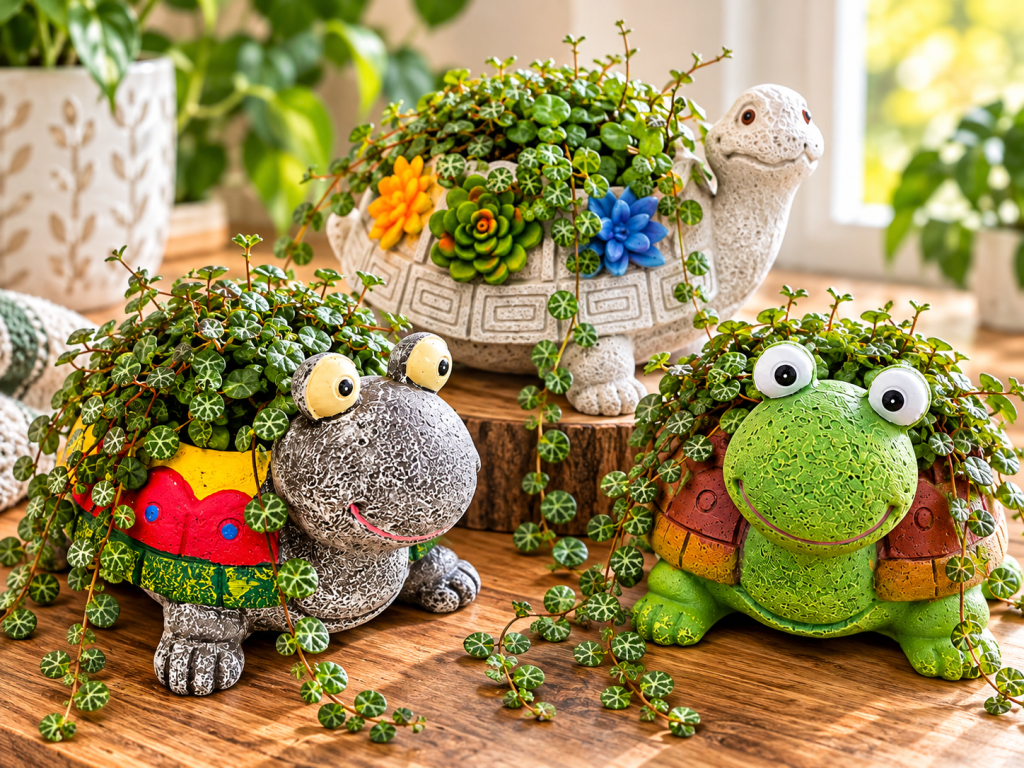
Three colorful turtle planters filled with trailing String of Turtles plants, arranged on a wooden table with a bright, cozy indoor background.

Affiliate Disclosure: This post contains affiliate links. As an Amazon Associate I earn from qualifying purchases.

Meet String of Turtles

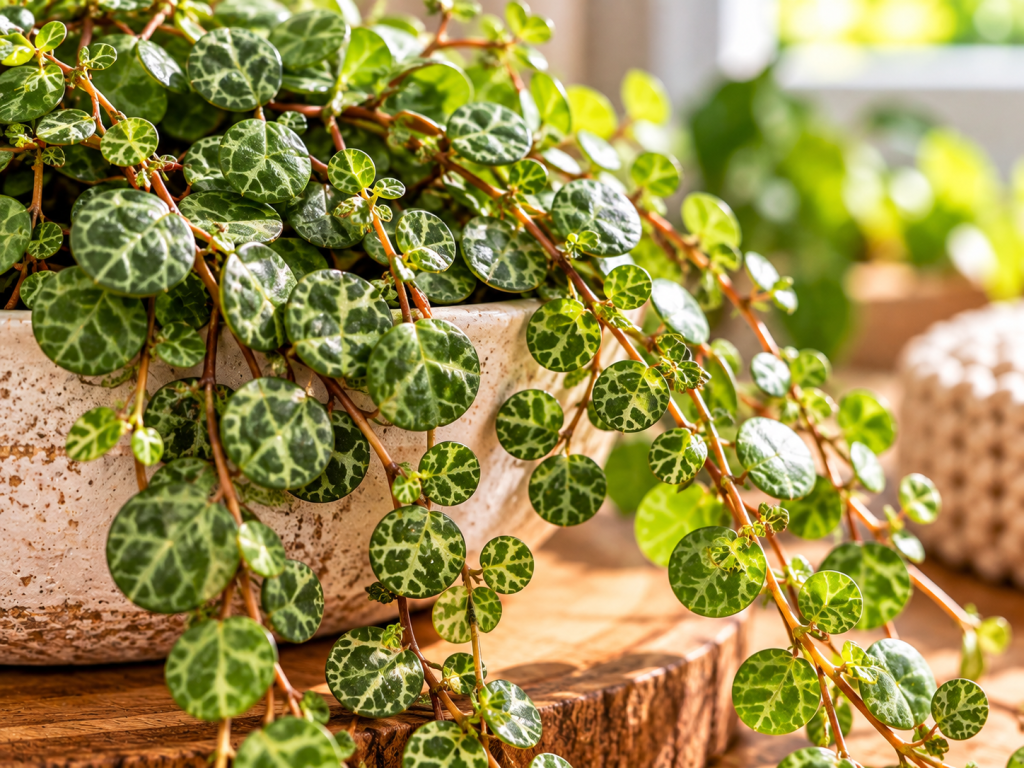
String of Turtles (Peperomia prostrata) is a small trailing houseplant with round leaves covered in beautiful markings that look remarkably like tiny turtle shells.

Which, of course, is exactly why putting one inside a turtle planter is irresistible.

As the plant grows, the vines begin spilling over the sides of the planter, creating a living green “shell.”

Close-up of String of Turtles houseplant showing small, round green leaves with intricate turtle-shell patterns cascading from a ceramic planter.

Why Turtle Planters Work So Well

These are two of the actual turtle planters I used for my String of Turtles arrangements! I loved how much personality they added to such a tiny houseplant.

Shop my turtle planters:

Look for a small decorative turtle planter that’s large enough to hold your plant without overwhelming its relatively small root system.

The most important thing isn’t how adorable its face is. Although, let’s be honest, that certainly helps.

Drainage matters.

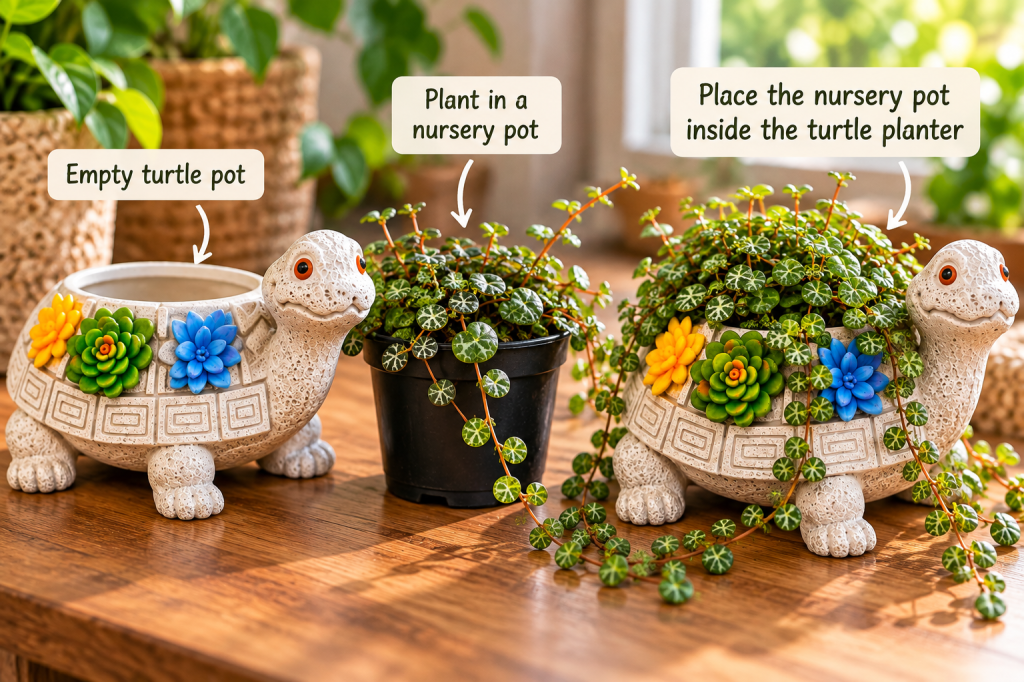
If your perfect turtle doesn’t have drainage, another option is to keep the plant inside a small nursery pot that fits inside the decorative planter. You can remove the inner pot when you water and allow it to drain completely before putting it back.

Three-step visual showing an empty decorative turtle planter, a String of Turtles plant in a nursery pot with drainage holes, and the nursery pot placed inside the turtle planter.

The Soil I Use for String of Turtles

These little plants have delicate roots, so I prefer a light, airy potting mix that holds a little moisture while allowing excess water to drain away.

My DIY String of Turtles Soil Mix

If you’d like to make your own, here’s a simple combination:

  • 50% indoor potting mix for a little moisture retention
  • 30% perlite or pumice to improve drainage and airflow
  • 20% fine orchid bark (rather than large chunks) to keep the mix loose and airy

Mix everything together before planting.

Prefer a Ready-Made Mix?

If you’d rather use a premixed option, this chunky houseplant mix contains coco coir, pumice, and fir bark to help with drainage and airflow.

How to Plant a String of Turtles Turtle

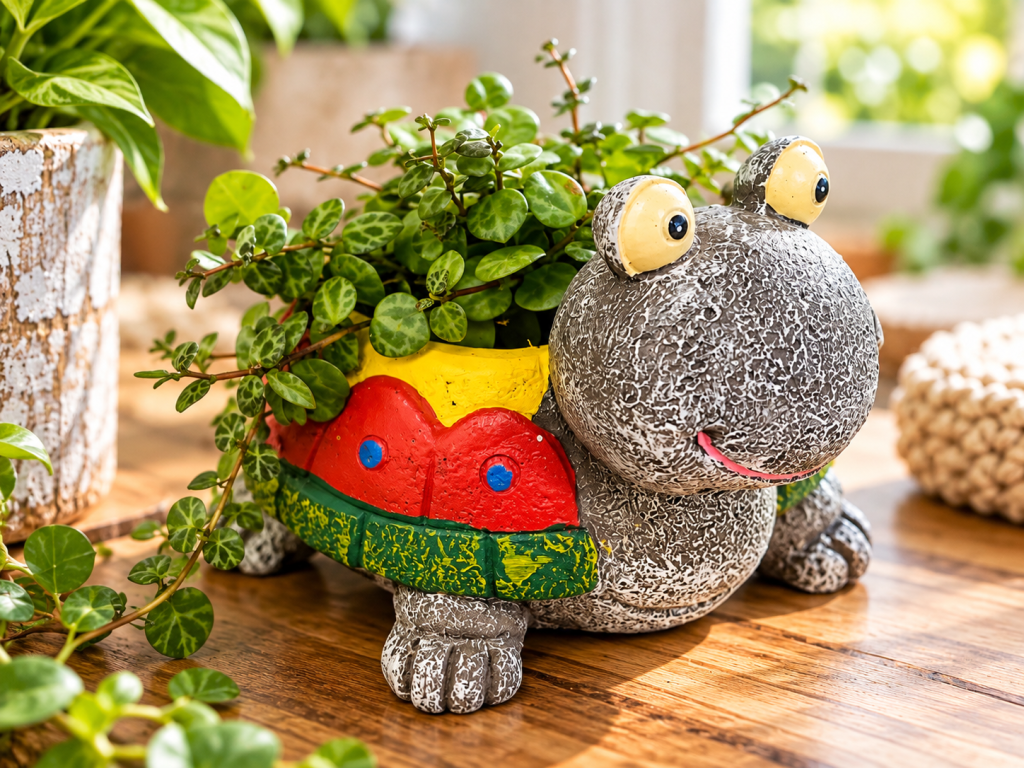
Gray turtle planter with a colorful red, yellow, and green shell, filled with String of Turtles vines on a wooden table in a bright indoor setting.

Once you’ve found your turtle, and a healthy String of Turtles plant, it’s a pretty simple project.

Add your potting mix, leaving enough room for the plant’s existing roots.

Gently position the plant in the planter and fill around the roots with additional soil. Avoid burying the little leaves or packing the soil down too firmly.

Give Your Turtle Plenty of Light

String of Turtles generally does best with plenty of bright, indirect light.

Good light helps maintain compact growth and those beautiful markings on the leaves.

One thing worth watching is the top of the planter. With trailing plants, it’s easy to admire all those long vines while forgetting that the crown of the plant needs light too.

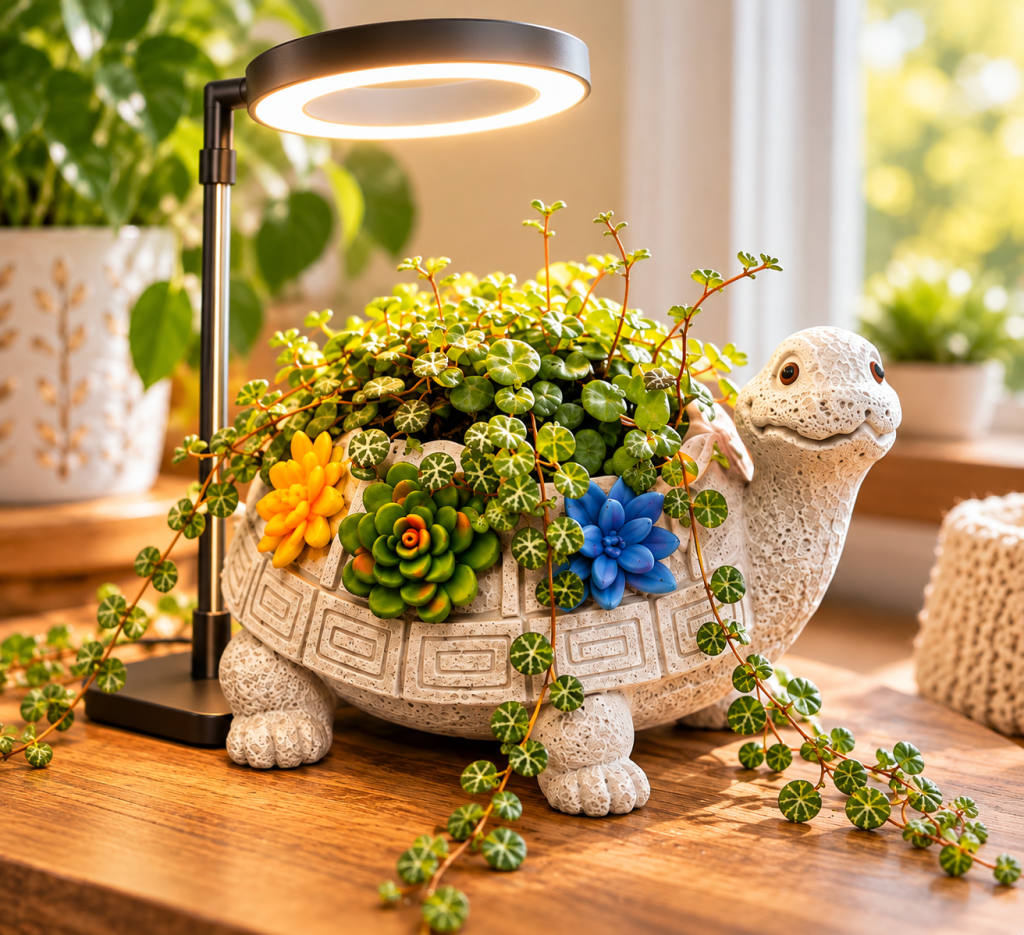
If your String of Turtles isn’t getting enough bright, indirect light (and in a northern December, whose is?), a small LED grow light can be a helpful option.

I especially love the idea of a little turtle planter sitting beneath its own miniature grow light. How cute would that be?!

Gray stone-look turtle planter with colorful succulent accents and trailing String of Turtles vines, sitting beneath a small ring-shaped LED grow light on a wooden table.

Watering String of Turtles

This is another place where I’d rather teach you how to read the plant and soil than tell you to water every Tuesday.

Conditions inside our homes vary far too much for a rigid schedule.

Before watering, check the soil. I allow the potting mix to dry considerably rather than keeping it constantly damp.

Then I water thoroughly and allow the excess to drain away.

Tiny planters can be deceptive because they hold relatively little soil. Depending on the conditions in your home, they may dry faster than larger houseplants. But that doesn’t mean they need constant little sips of water.

Turn One Turtle Into More Turtles

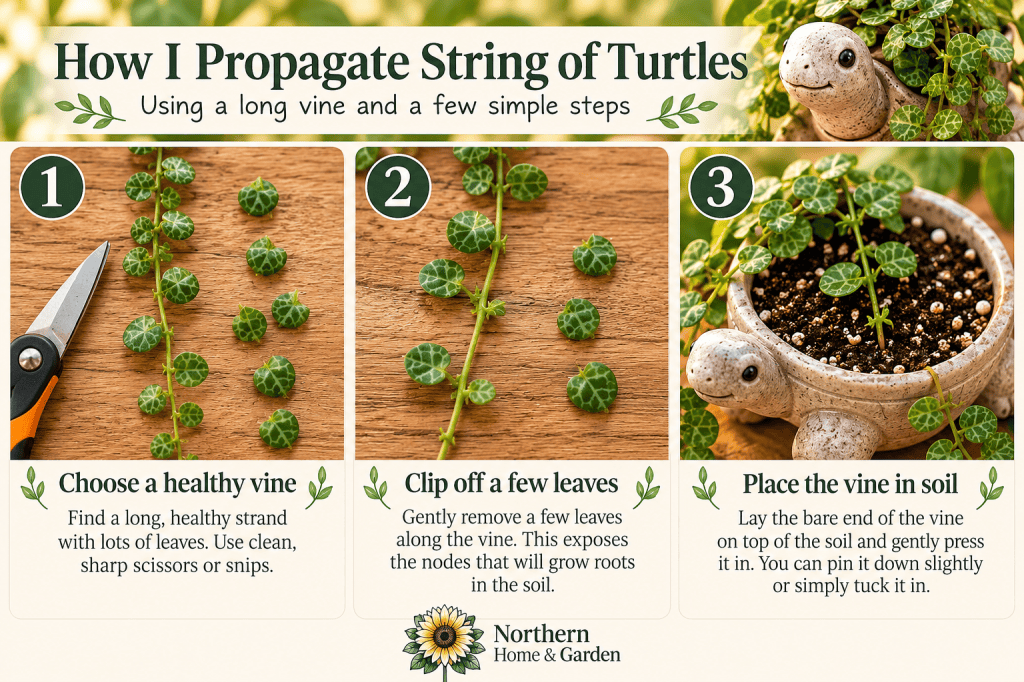
String of Turtles can be propagated from healthy vines. Here’s the method I’ve used with mine.

  1. Choose a healthy, longer strand of String of Turtles.
  2. Carefully remove a few leaves along the section of vine you want to plant. This exposes the little nodes where new roots can develop.
  3. Gently tuck that bare section of vine into lightly moist, airy potting soil, keeping the remaining leaves above the surface.
  4. Make sure the nodes have good contact with the soil. You can use a small plant pin to hold the vine in place if needed.
  5. Place your planter somewhere warm with bright, indirect light and keep the soil lightly moist, not soggy, while roots develop.

And before you know it, you might have the beginnings of another little turtle plant! 🐢

String of Turtles propagation tutorial showing how to choose a healthy vine, remove lower leaves to expose nodes, and plant the bare stem in soil using a turtle planter.

Sometimes Houseplants Should Just Be Fun

I love learning about plants.

I love figuring out what makes them grow well, experimenting with propagation, and watching a tiny cutting eventually become a full plant.

But I also think we can get so wrapped up in doing everything “right” that we forget one of the best things about growing houseplants:

They’re supposed to bring us joy.

Sometimes that means growing a beautiful specimen plant.

Sometimes it’s propagating something that belonged to someone you love.

And sometimes…

it’s putting String of Turtles inside a turtle because you absolutely cannot resist. 🐢🌿

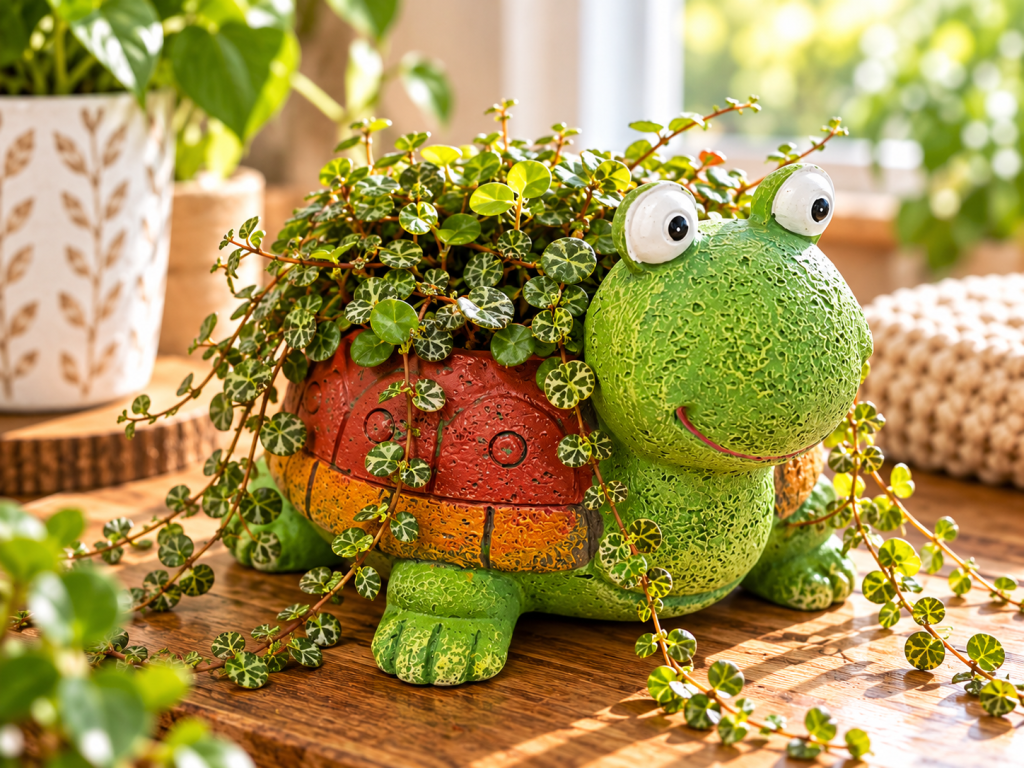
Bright green turtle planter filled with trailing String of Turtles vines, displayed on a wooden table in a sunny indoor setting.

A turtle planter with a String of Turtles inside would make an adorable gift for a plant lover. For more ideas, see our gift guide.

🌻 Northern Home & Garden

More Northern Tips, Straight to Your Inbox 🌻

Get practical gardening advice, seasonal ideas and new posts from Northern Home & Garden delivered to your inbox.
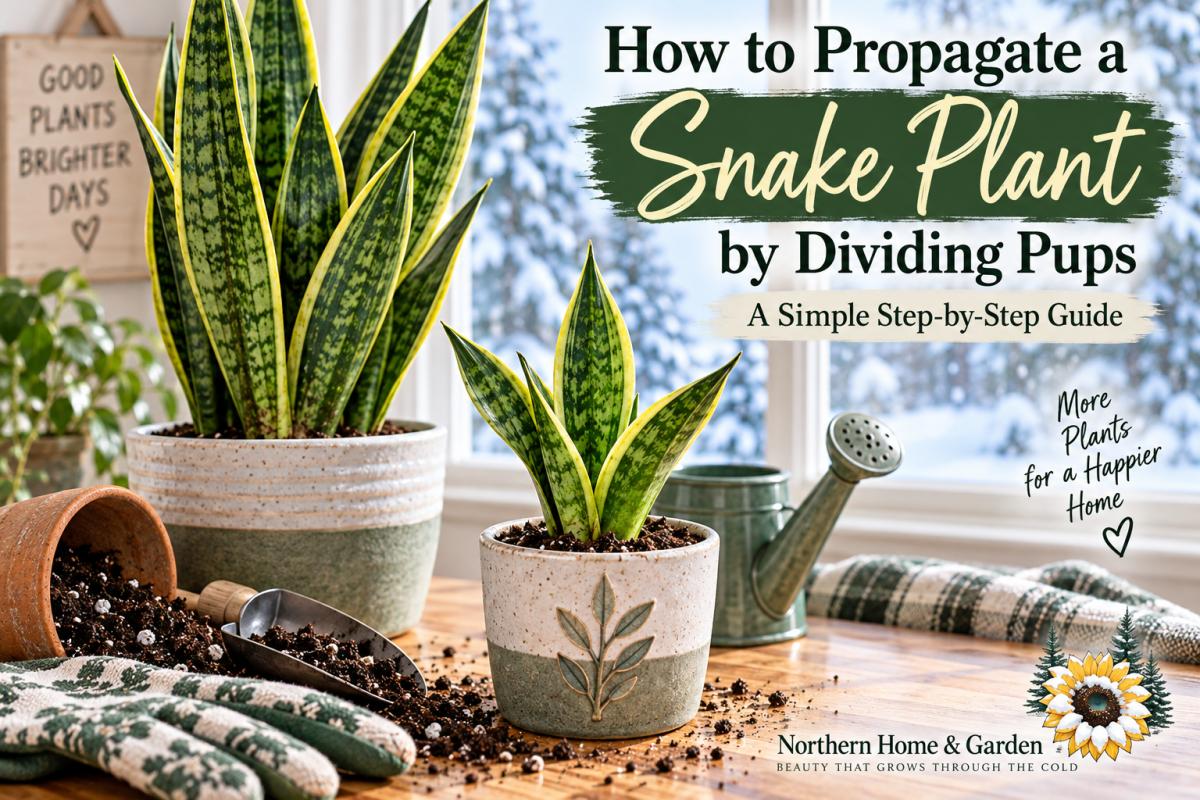
How to Propagate a Snake Plant by Dividing Pups

Learn how to propagate a snake plant by separating pups from the mother plant. This beginner-friendly guide walks you through dividing, repotting, and caring for your new snake plant.

Snake plants are pretty generous houseplants. Give them a decent spot, don’t drown them, and they’ll usually carry on without demanding much attention.

Then one day, you look down into the pot and realize…

You have babies. 🌿

Continue reading “How to Propagate a Snake Plant by Dividing Pups”

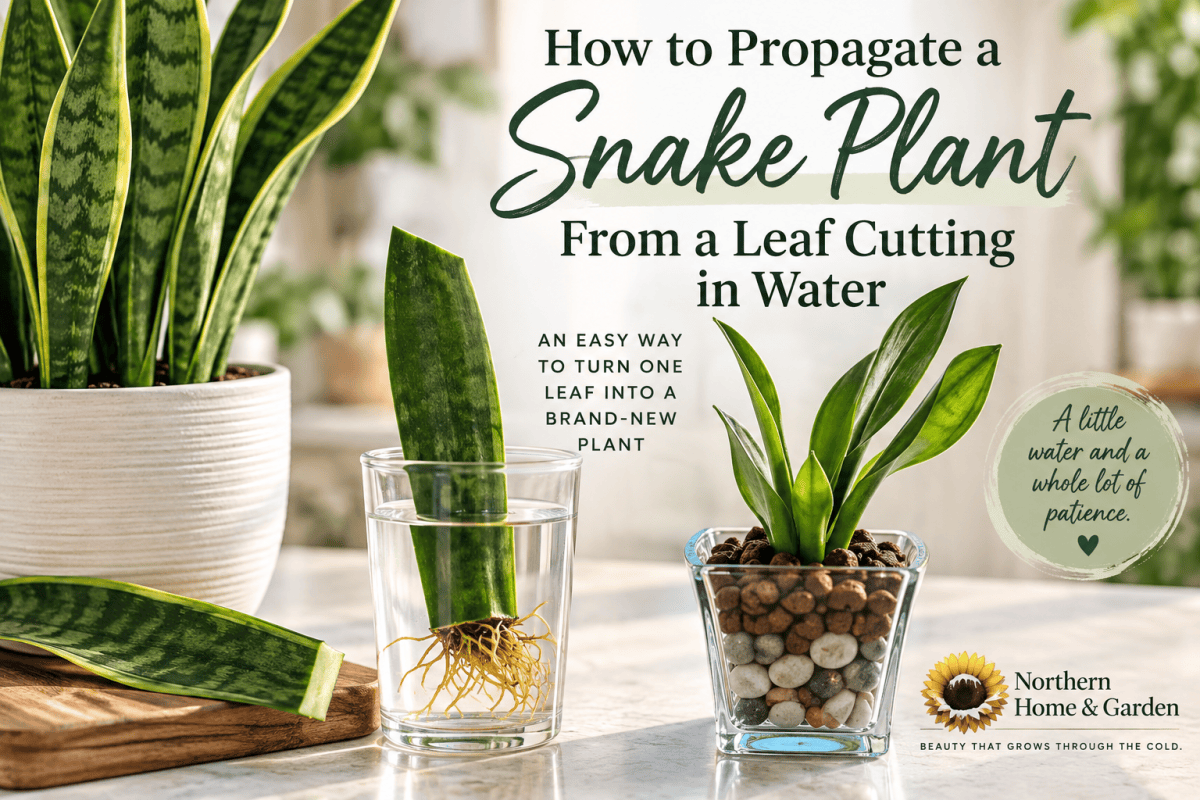
How to Propagate a Snake Plant From a Leaf Cutting in Water

Learn how to propagate a snake plant from a leaf cutting in water, from making the first cut to growing roots and new shoots.

Snake plants are tough, low-maintenance houseplants, but one of my favorite things about them is how easily you can grow a new plant from a single leaf cutting. 🌿

Continue reading “How to Propagate a Snake Plant From a Leaf Cutting in Water”

How to Train a String of Hearts Into a Heart Shape

Turn an overgrown string of hearts into a beautiful living display! Learn how to gently train long, trailing vines around a heart-shaped support while keeping plenty of that gorgeous cascading growth.

String of hearts is one of those houseplants that starts out looking sweet and innocent. A few delicate vines. Tiny heart-shaped leaves. Nothing suspicious happening here.

And then one day you realize those vines have somehow traveled halfway across the room.

Continue reading “How to Train a String of Hearts Into a Heart Shape”